Dashboard
The Dashboard is the first screen you’ll see after entering the WMS module. It gives you a quick view of important warehouse activities and stock status.
Step 1: By Default you need to select Location
- When you open the WMS, a screen will ask you to select your warehouse location.
- Choose the correct location from the dropdown.
- Click the Save button.
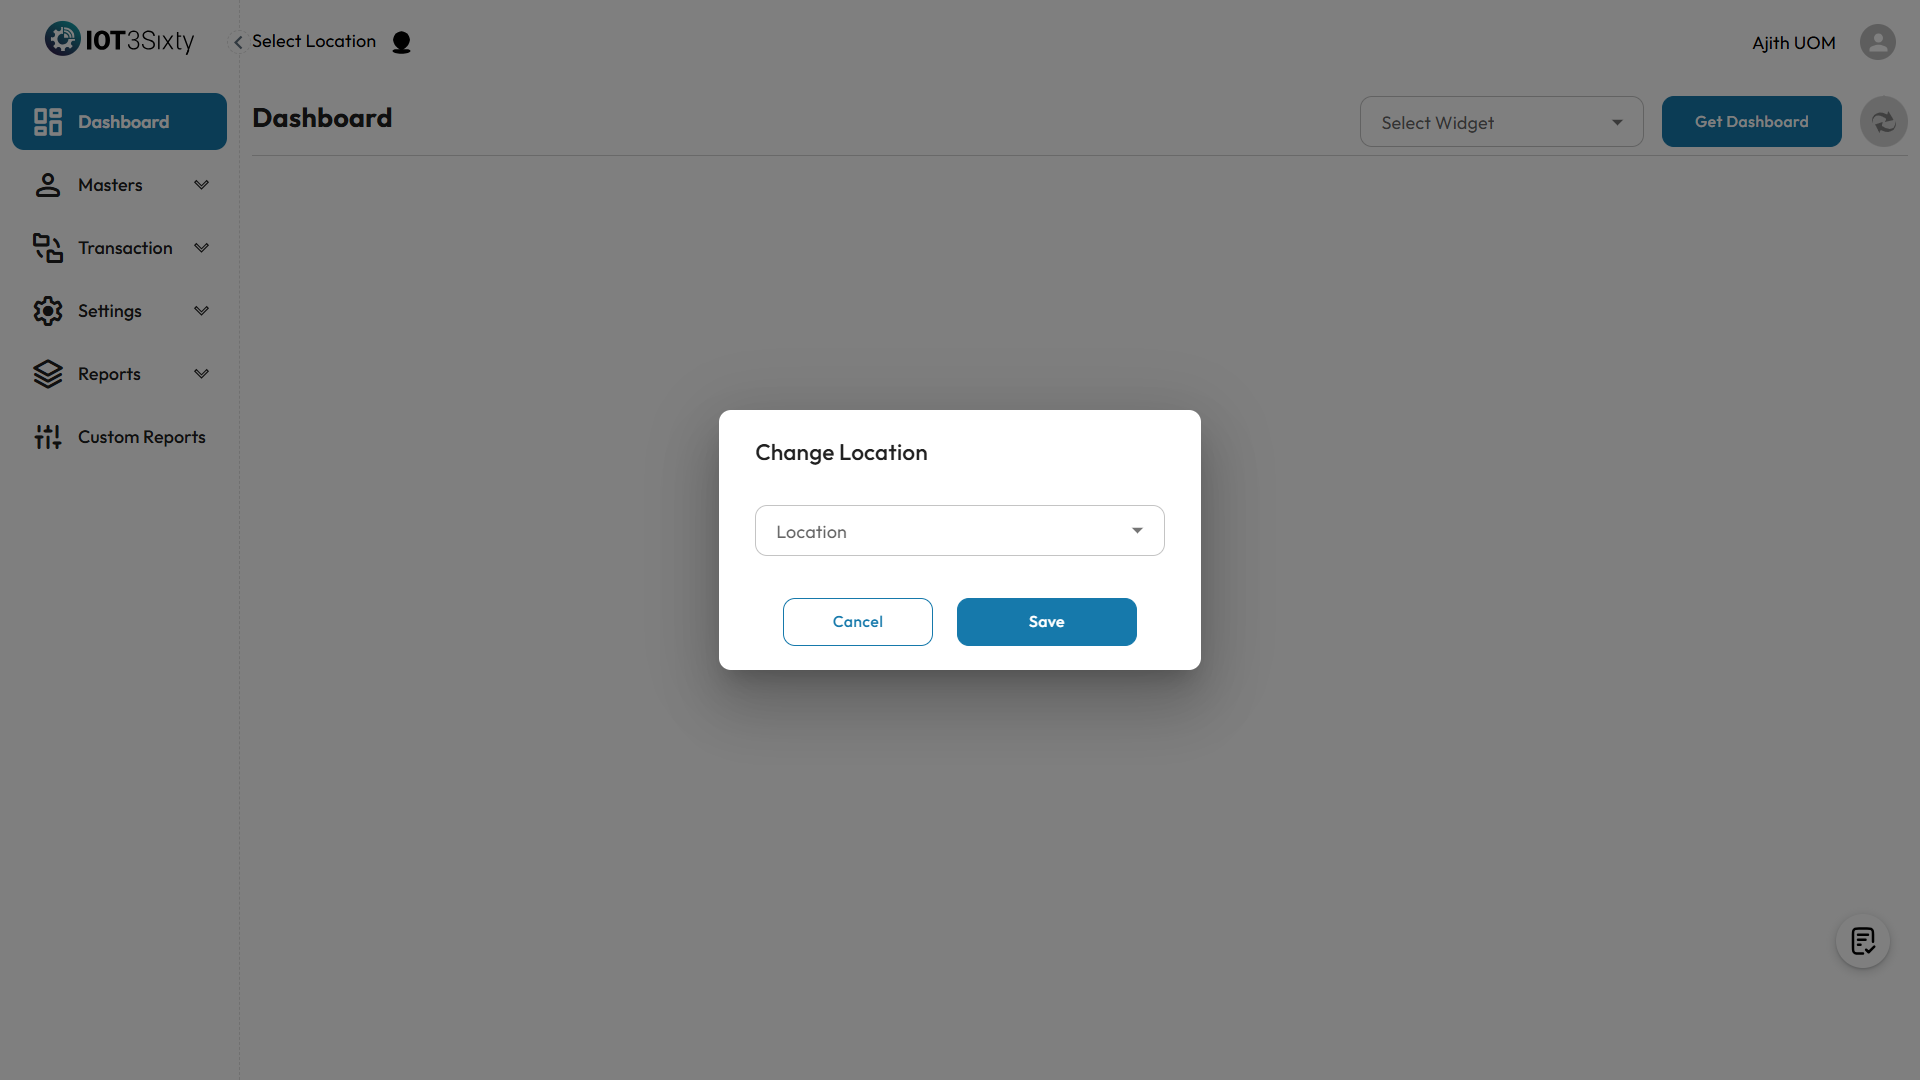
This step is needed to make sure all the data you see is related to that specific warehouse.
Step 2: Choose Dashboard Widgets
- After saving the location, you need to select Select Widgets
- These widgets show things like stock levels, transfers, alerts, and more.
- Select the widgets you want to see.
- Click the Get Dashboard button.
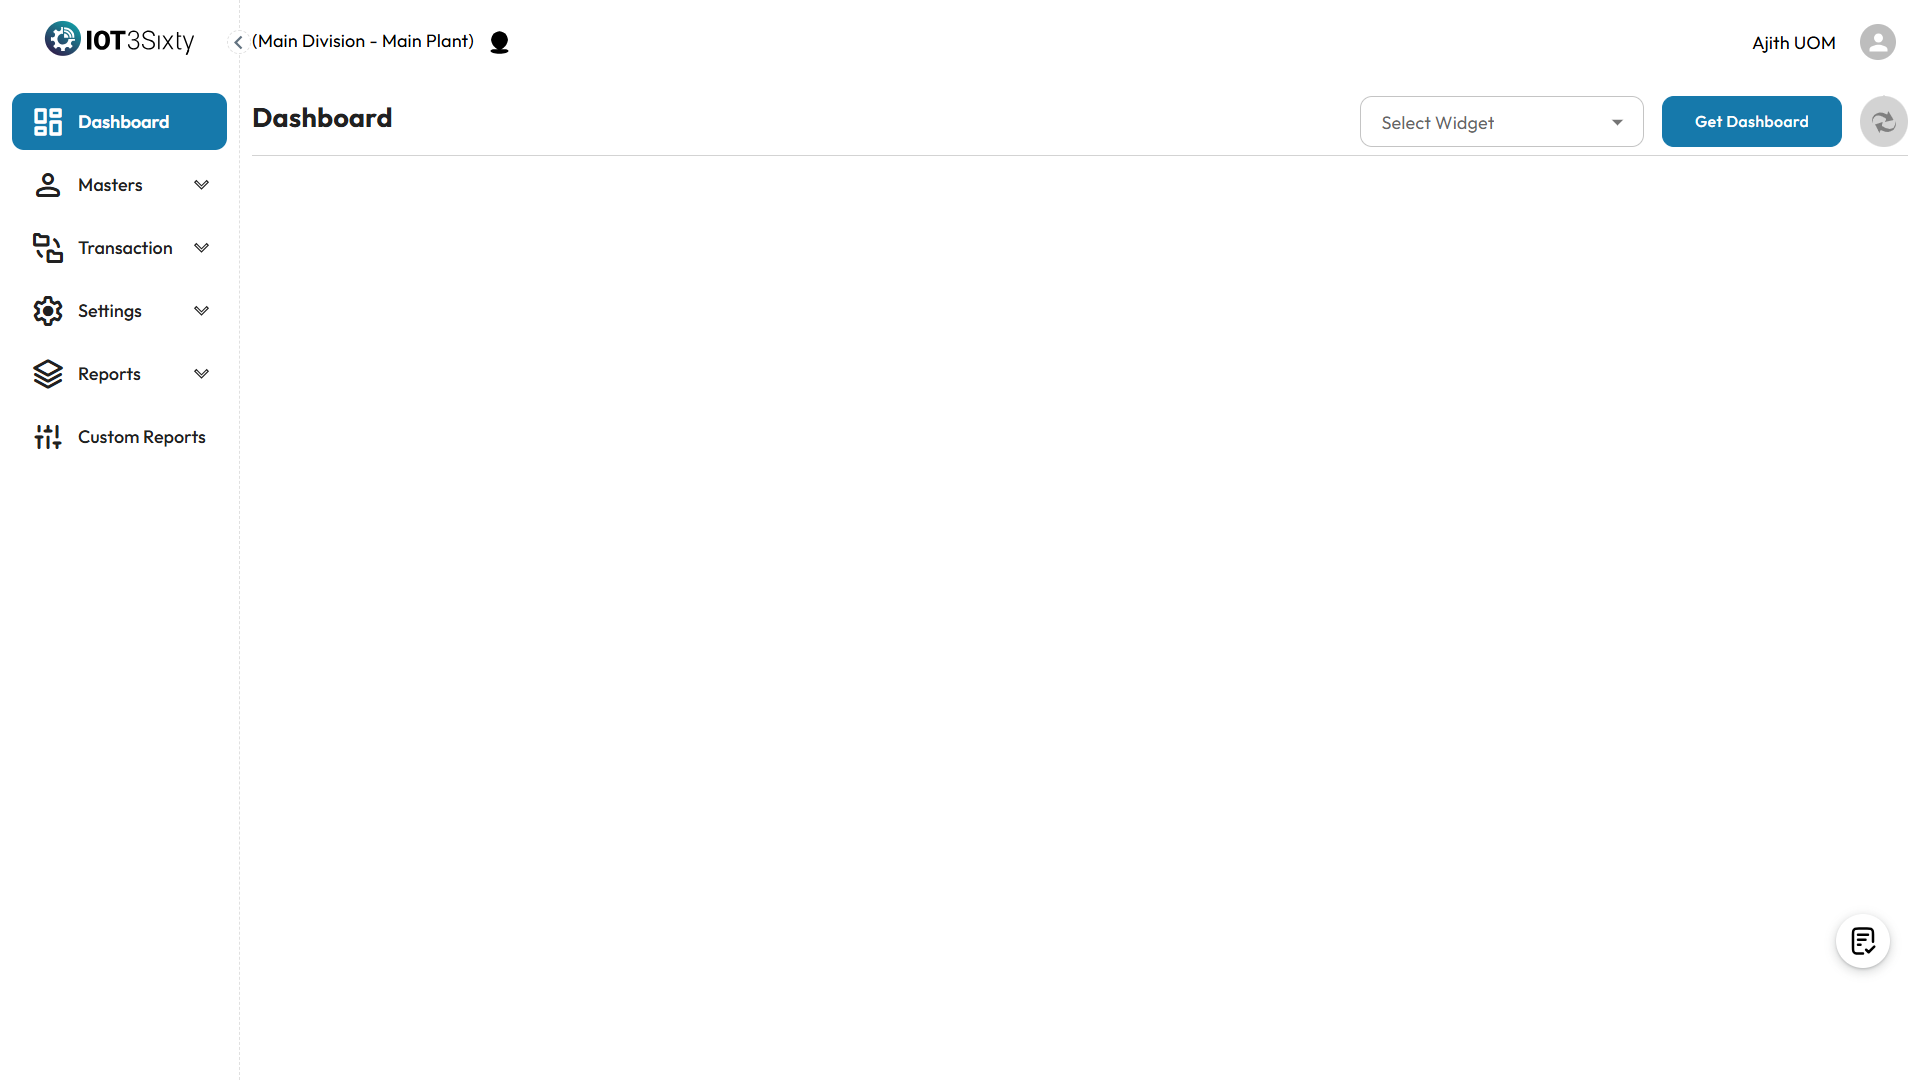
Your selected widgets will appear and show live data based on the chosen location.
What You Can See in the Dashboard
- Current stock by item and location
- Recent stock transfers and receipts
- ETL service sync status
- Alerts or notifications
- Quick summary of warehouse activity
Summary
| Step | What to Do |
|---|---|
| 1. Select Location | Choose your warehouse and click Save |
| 2. Pick Widgets | Select what you want to see |
| 3. Get Dashboard | View real-time data and insights |
The dashboard helps you stay updated on all warehouse operations in one place.