Role Setup
Role Setup defines the different access levels and responsibilities within the system. Each role can be assigned specific permissions to manage visibility and actions for different modules.
Role creation is typically done via the Settings section.
Steps to Create a Role
1. Navigate to Role Settings
- Go to Settings > Role Management.
2. Click the "Add New" Button
- Click the Add New button to launch the Role Creation Form.
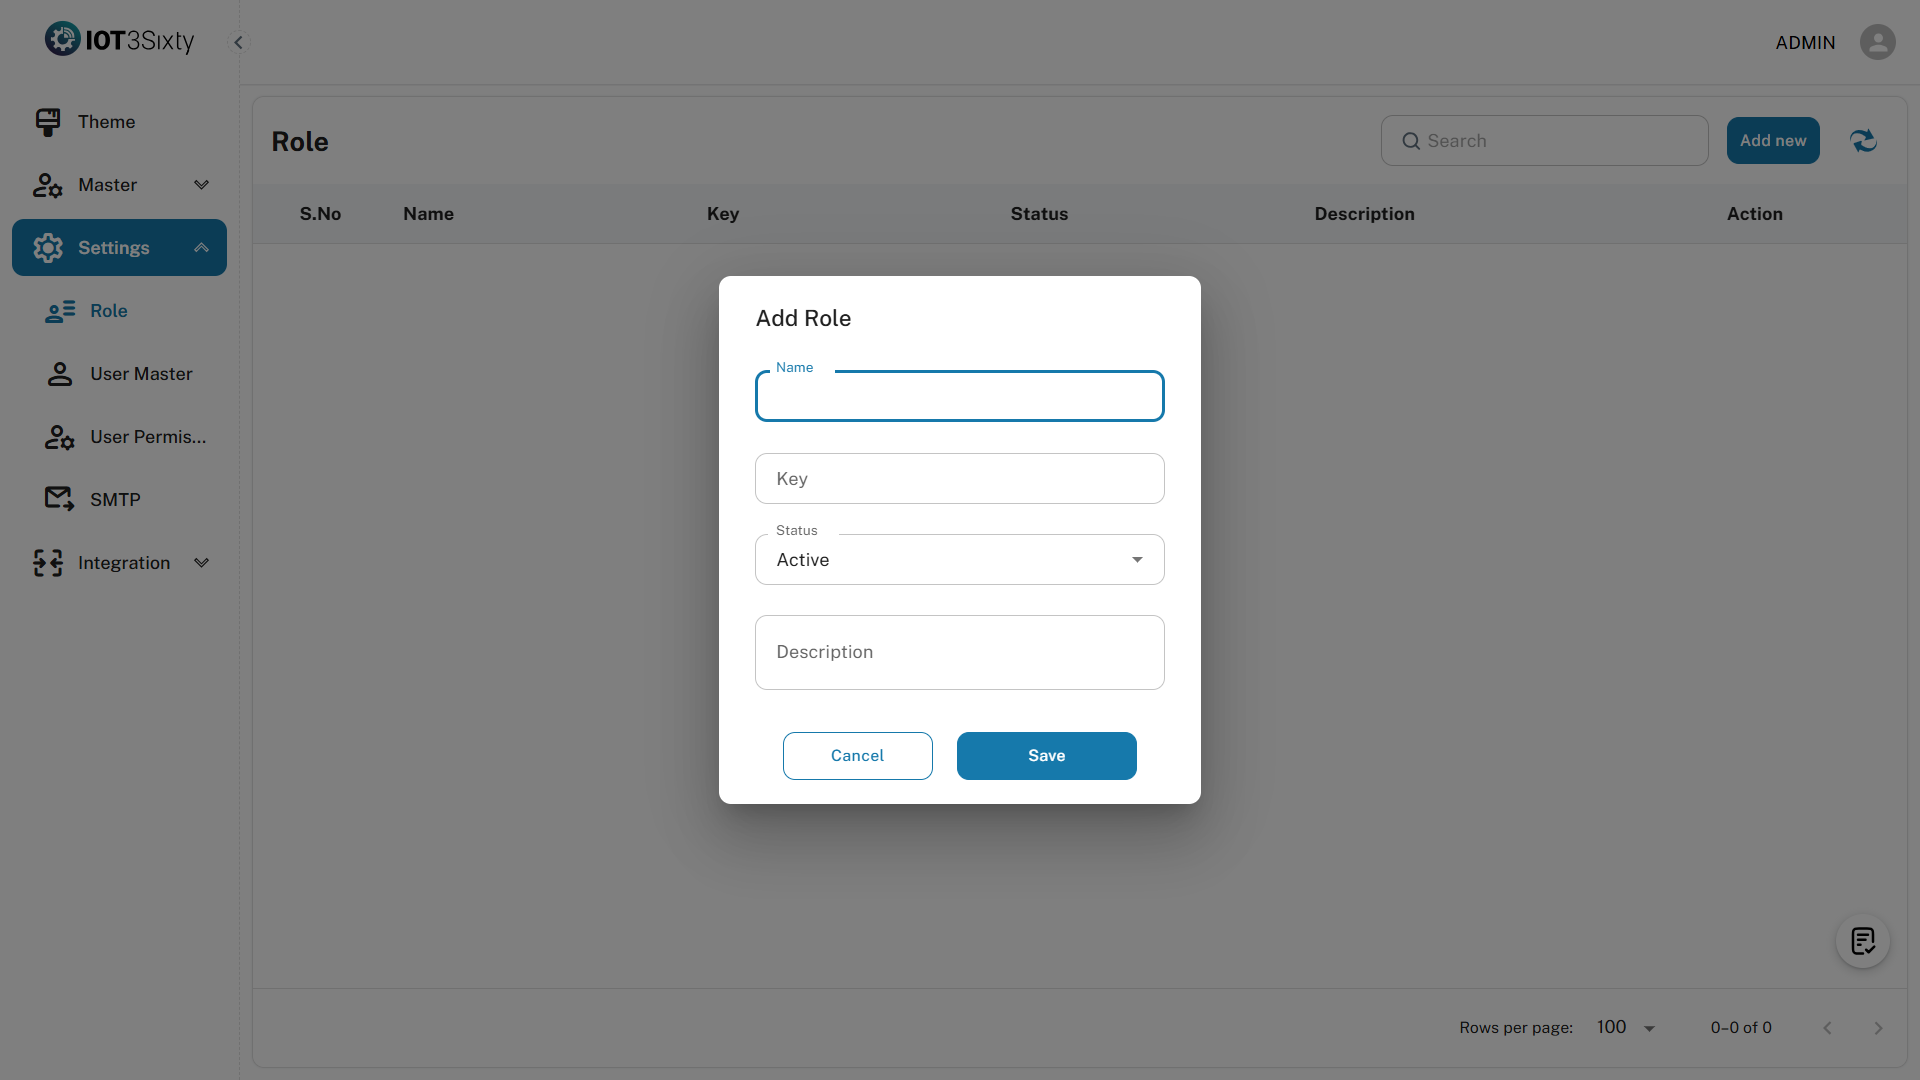
3. Fill in Role Details
| Field | Type | Required | Description |
|---|---|---|---|
| Role Name | Text | Yes | The name of the role (e.g., Admin, Manager) |
| Role Key | Text | Yes | A unique identifier key for the role (e.g., ADMIN, MGR) |
| Active | Toggle | Yes | Set whether this role should be active |
| Description | Text | Optional | Additional context or notes about the role's purpose |
4. Save the Role
- After entering the required information, click Save.
5. Confirmation
- A success message will appear:
ROLE CREATED SUCCESSFULLY
Checklist Behavior
- Once a role is successfully created, the Role step in the Onboard Process will be marked as Completed.
- The next step — User Creation — becomes available.
Best Practices
- Use meaningful role names and keys (e.g.,
ADMIN,SUPERVISOR,INVENTORY_MGR). - Use the description field to note permissions or scope for documentation purposes.
- Ensure only Active roles are assignable during user creation.
- Maintain consistency in naming conventions for better system-wide filtering and integration.