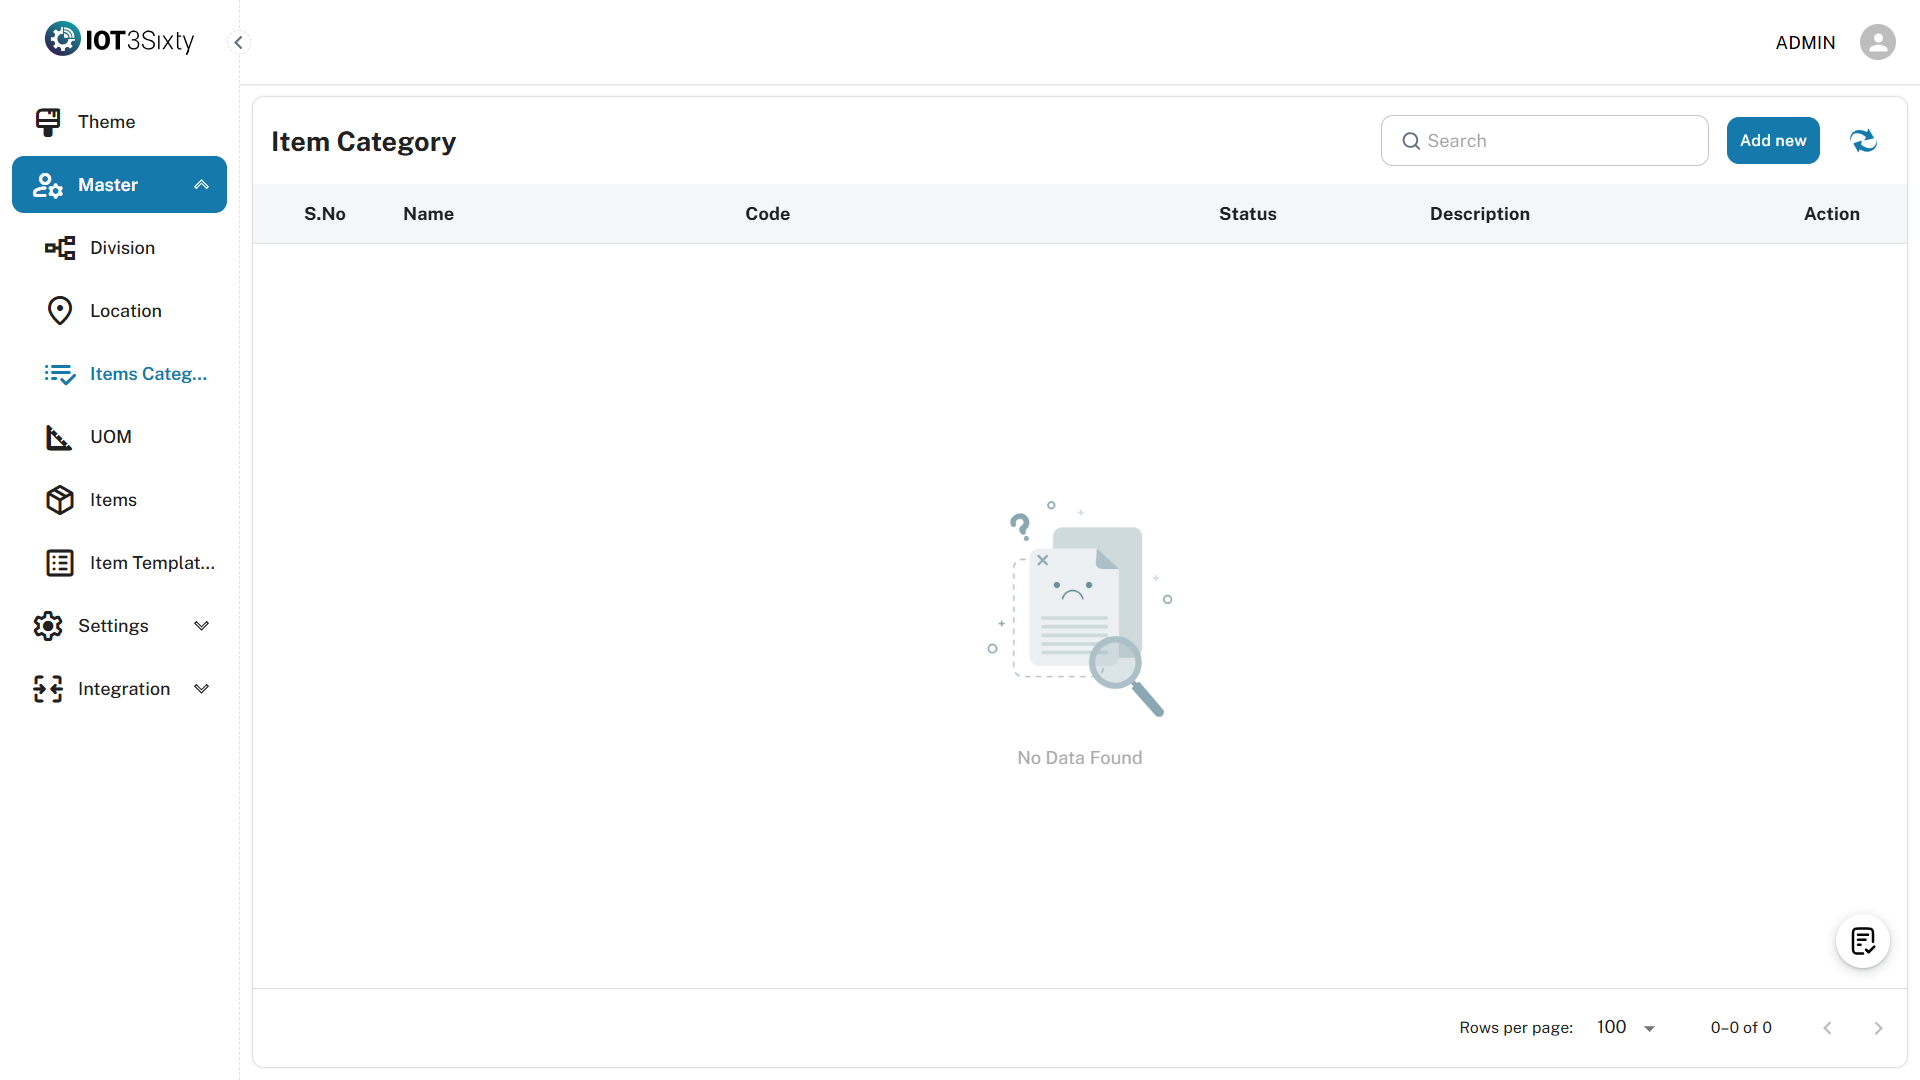
Item Category Setup
The Item Category setup is the fourth step in the Onboard Process. Item categories help organize items into logical groups for easier management, filtering, and reporting.
Steps to Create an Item Category
1. Navigate to the Item Category Module
- From the Onboard Process panel, click on Item Category.
- You will be redirected to the Item Category Management screen.
2. Click the "Add New" Button
- Click the Add New button to open the Item Category Creation Dialog.
3. Fill in the Category Details
| Field | Description |
|---|---|
| Category Name | Enter a clear and unique name for the item category (e.g., "Electronics") |
| Category Code | Provide a short, unique code (e.g., "ELEC") |
| Active Status | Select whether the category should be active or inactive |
| Description | (Optional) Add any relevant details or notes about the category |

4. Save the Category
- After filling out the form, click the Save button.
- On success, a message will appear:
ITEM CATEGORY CREATED SUCCESSFULLY
Onboard Checklist Update
- Once at least one item category is created:
- The Item Category step in the Onboard Process will be automatically marked as Completed.
- You can then proceed to the next step in the checklist (Item Setup).
Notes
- Category codes and names must be unique.
- Inactive categories will not be available for selection when creating or managing items.
- Descriptions are optional but recommended for better clarity in large systems.