Location Setup
The Location Setup is the third step in the Onboard Process. Locations represent physical or logical areas where your organization operates, such as offices, plants, warehouses, or branches.
Steps to Create a Location
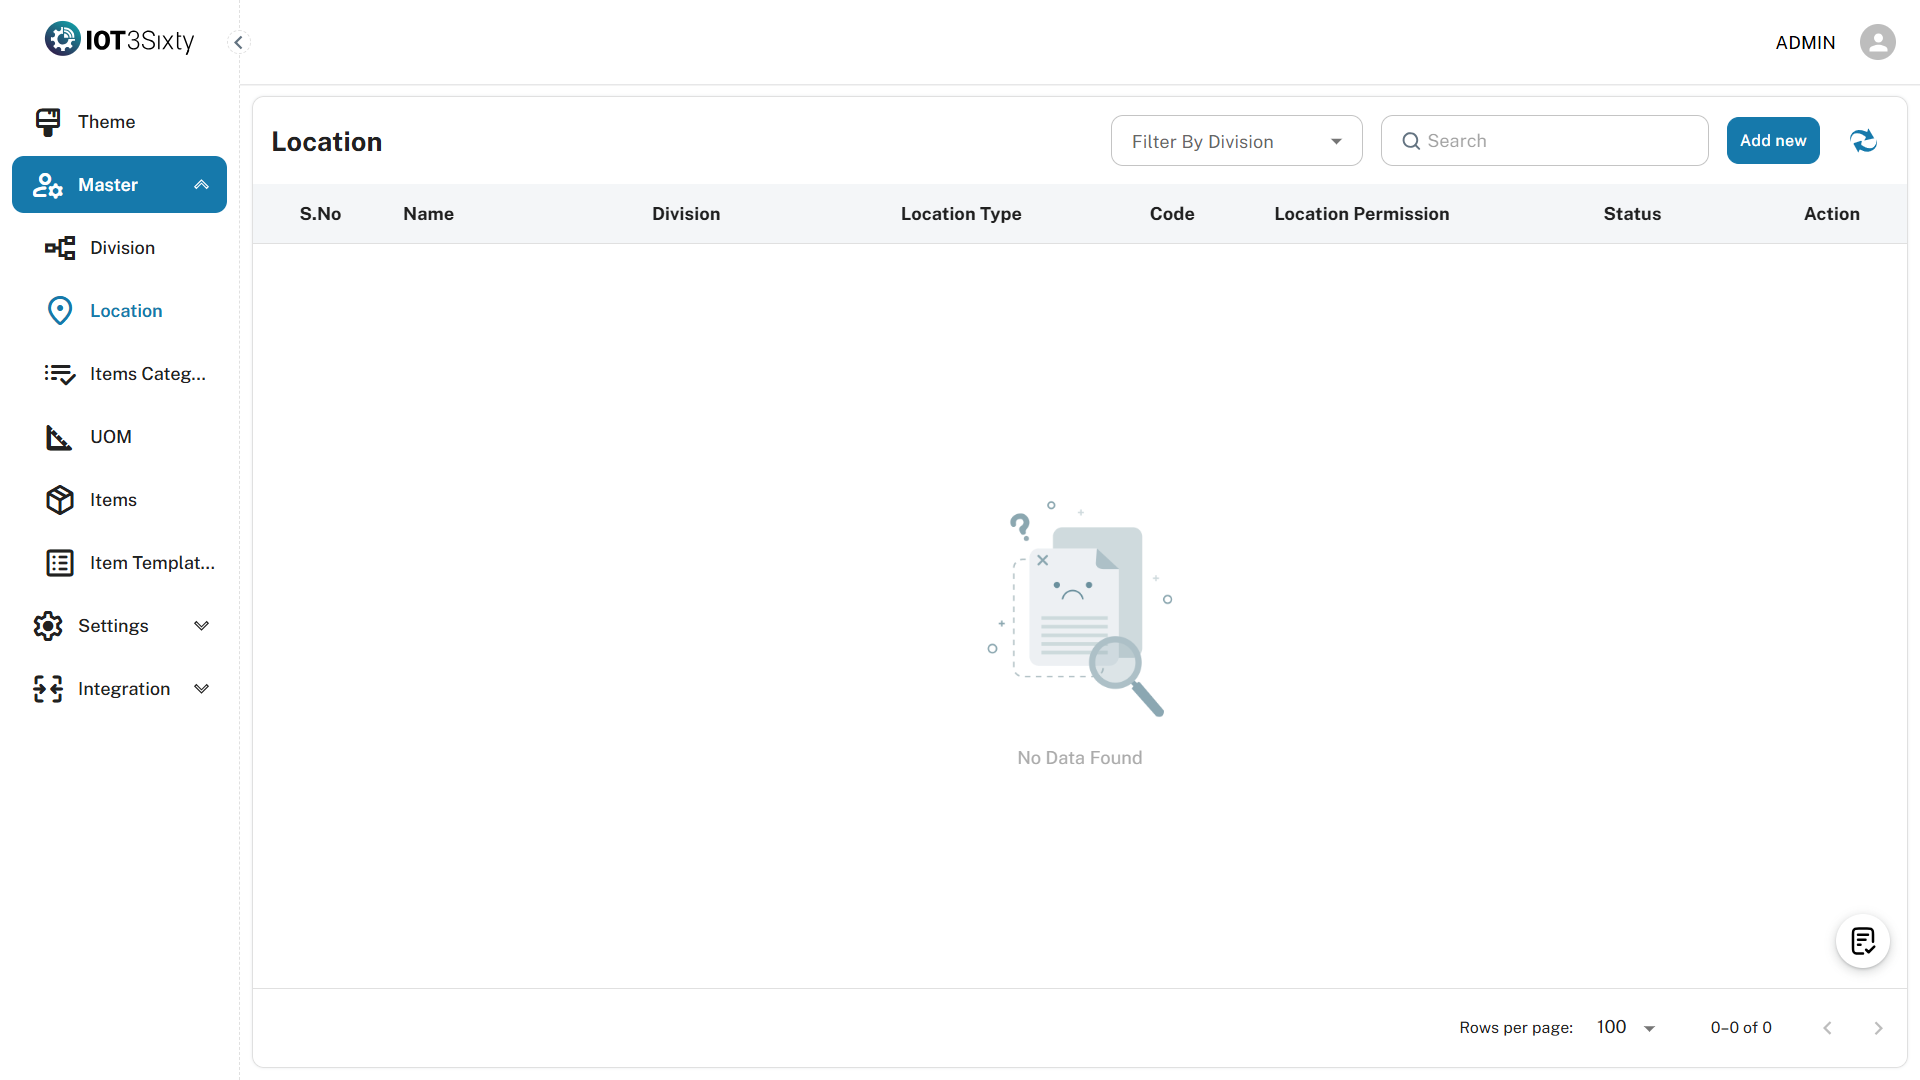
1. Navigate to the Location Module
- From the Onboard Process panel, click on Location.
- You will be redirected to the Location Management screen.
2. Click the "Add New" Button
-
Select the Add New button to open the Location Creation Dialog.
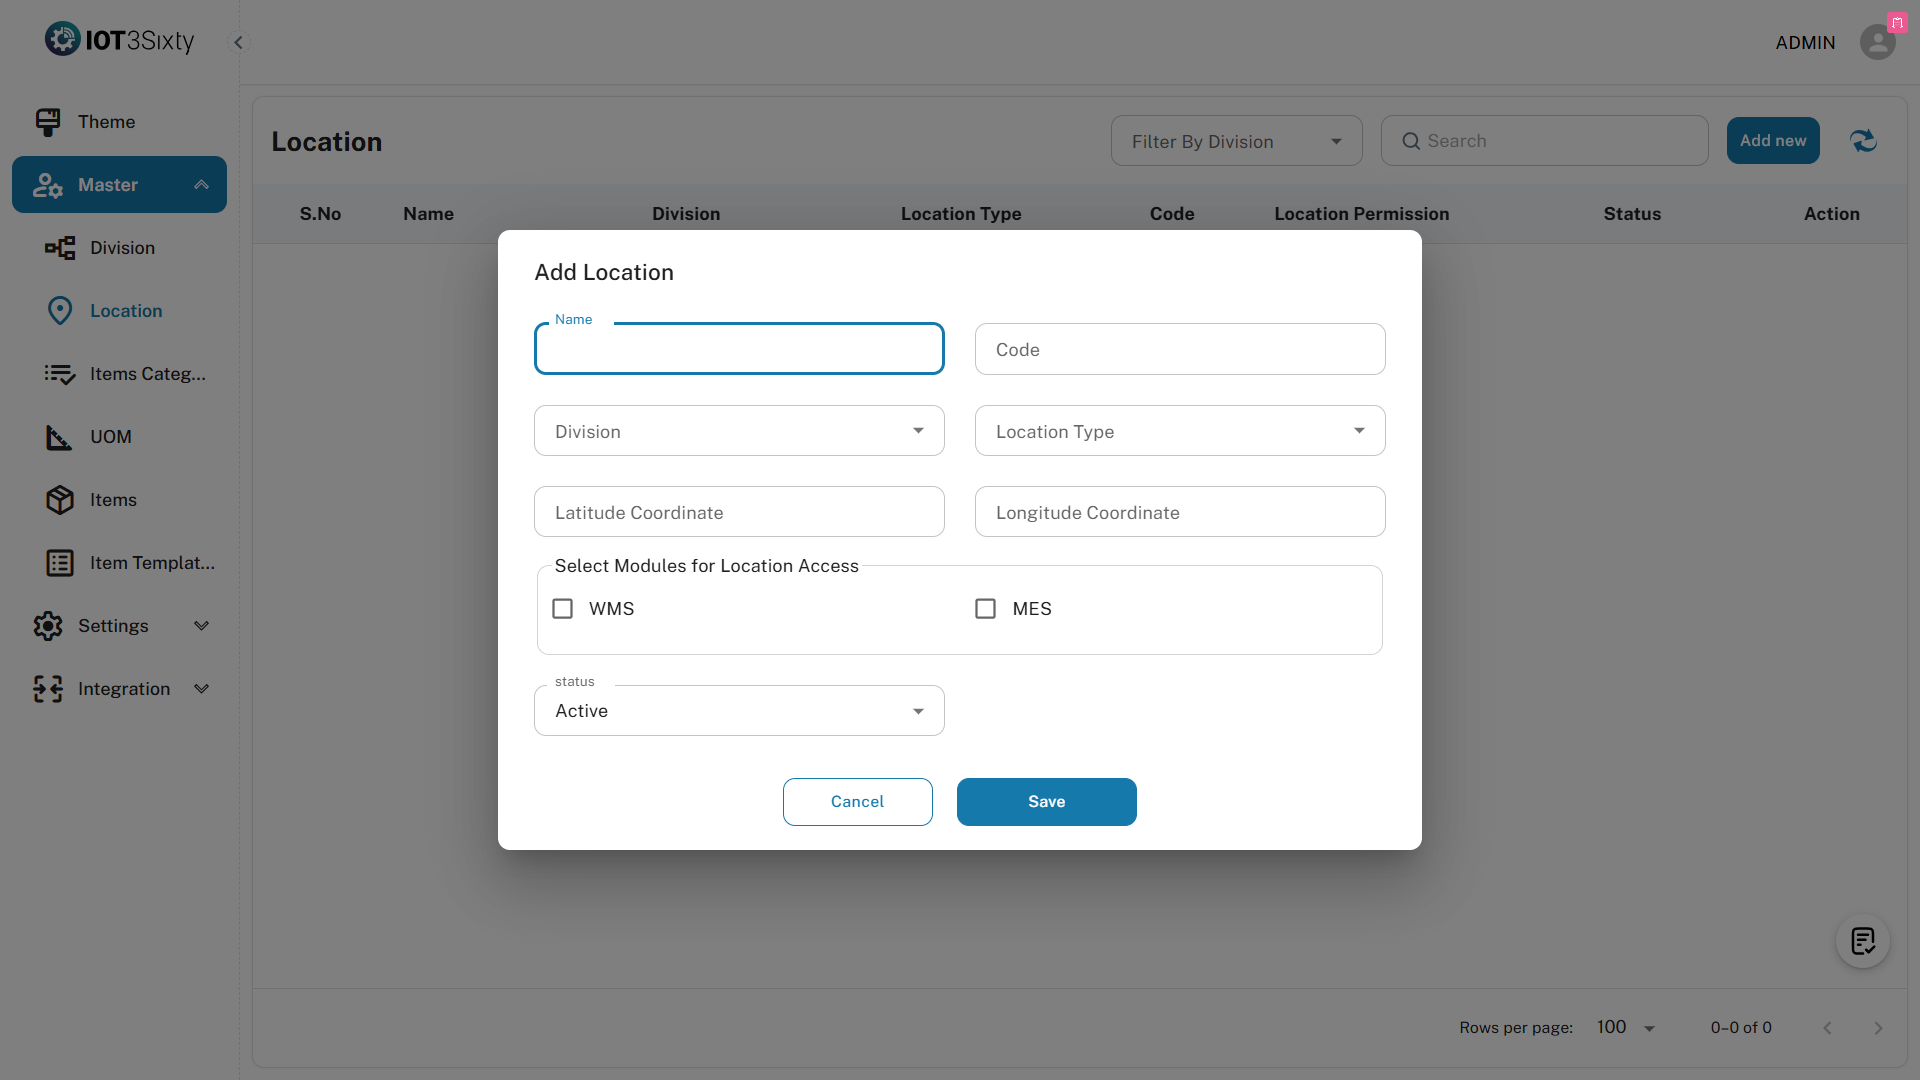
3. Fill in the Location Details
In the dialog box, provide the following information:
| Field | Description |
|---|---|
| Location Name | Enter a meaningful name for the location (e.g., "Main Warehouse") |
| Location Code | Provide a unique code identifier (e.g., "WH001") |
| Division | Select an existing division this location belongs to (required) |
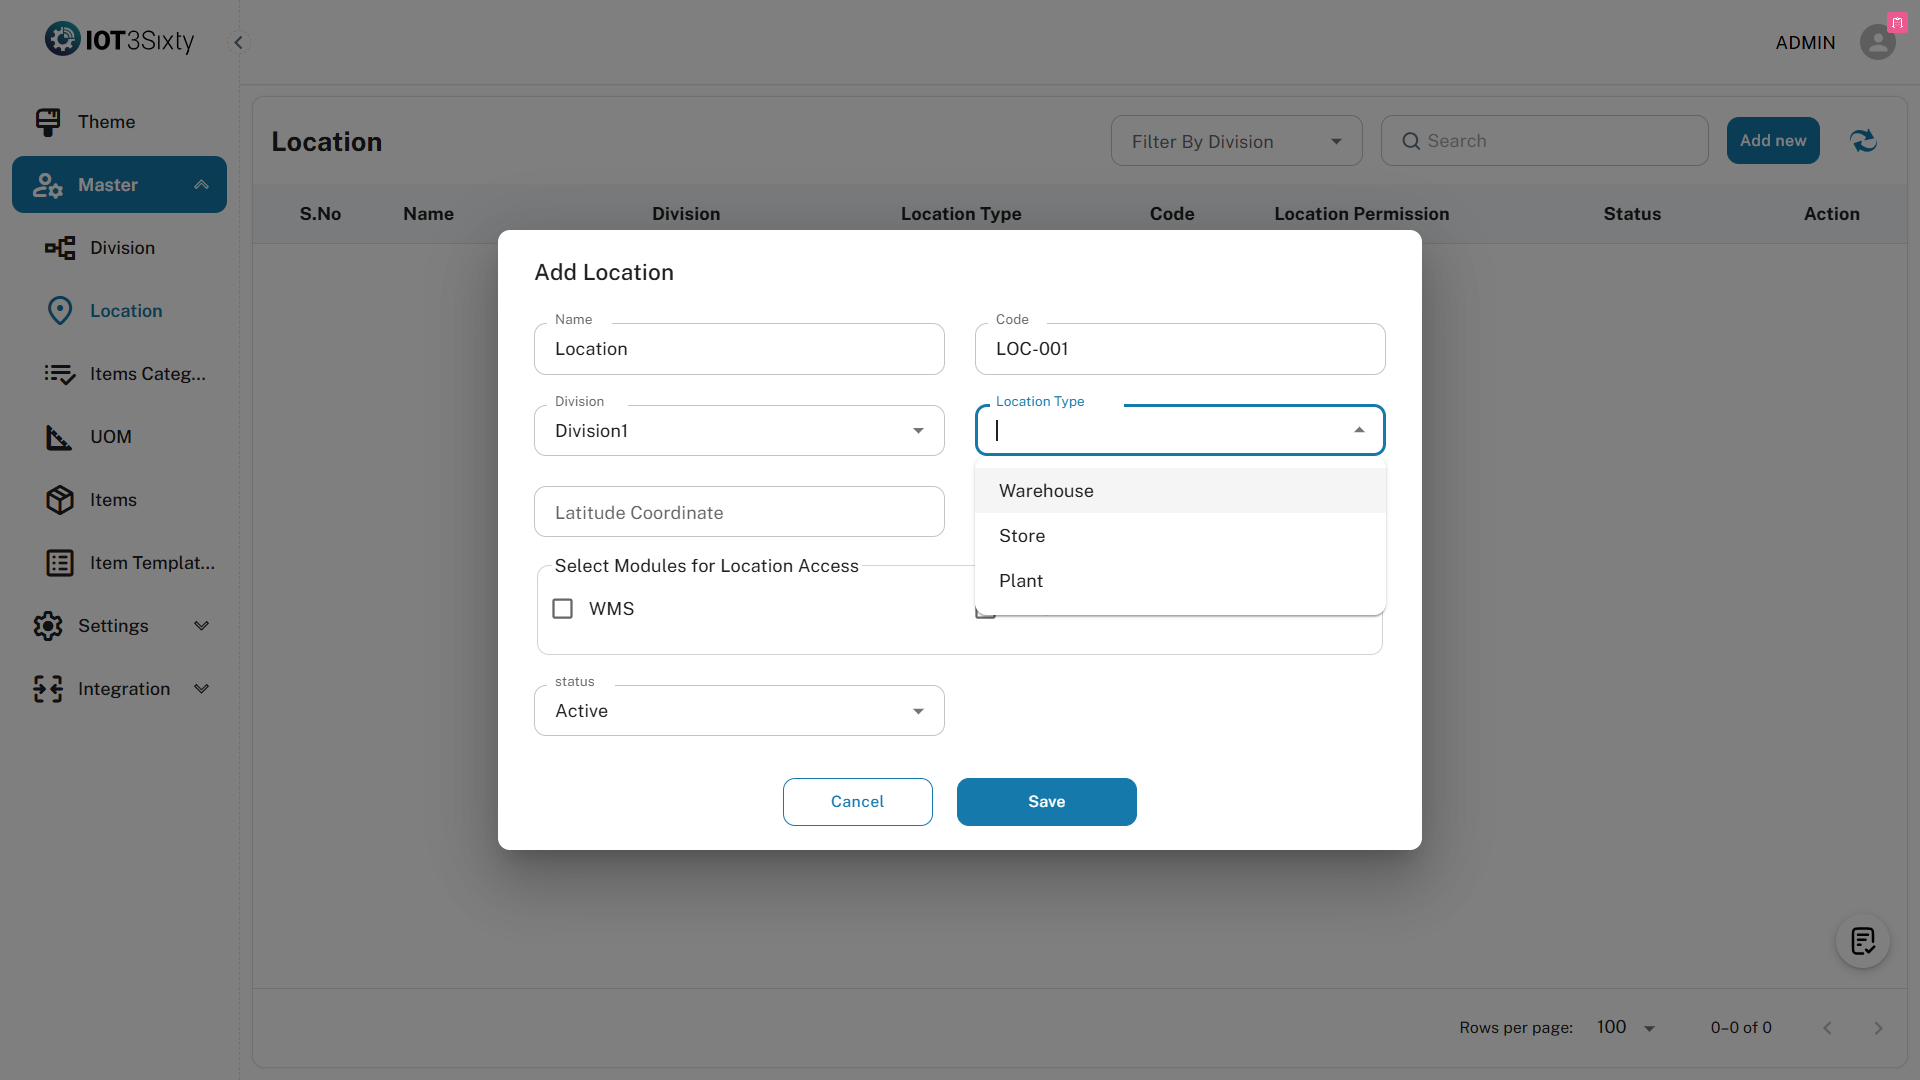
| Location Type | Specify the type of location such as Office, Plant, Store |
| Latitude & Longitude | Optionally enter geographical coordinates |
| Modules Access | Select applicable modules using checkboxes |
| Active | Enable or disable the location using a toggle or checkbox |
Note: Division selection is mandatory. Ensure at least one division is created before adding a location.
4. Save the Location
- Click the Save button once all required fields are filled.
- Upon successful save, a confirmation message will appear:
LOCATION CREATED SUCCESSFULLY
Onboard Checklist Update
- After successfully creating at least one location:
- The Location step in the Onboard Process will be automatically marked as completed.
- You will then be able to proceed to the next step (Item Category Setup).
Additional Notes
- A location cannot be added without selecting a division.
- Latitude and longitude values are optional but useful for future mapping or reporting.
- Module access determines what functionalities are available at that specific location.
- Inactive locations will not be listed in other workflows or dropdown selections.