ETL Integration
The ETL (Extract, Transform, Load) module allows administrators to automate data synchronization between external systems and the application. This ensures that all essential data is updated regularly without manual intervention, keeping the system consistent and efficient.
What is ETL?
- Extract: Pull data from external systems or services.
- Transform: Format or clean the data to match application standards.
- Load: Insert the cleaned data into the application database.
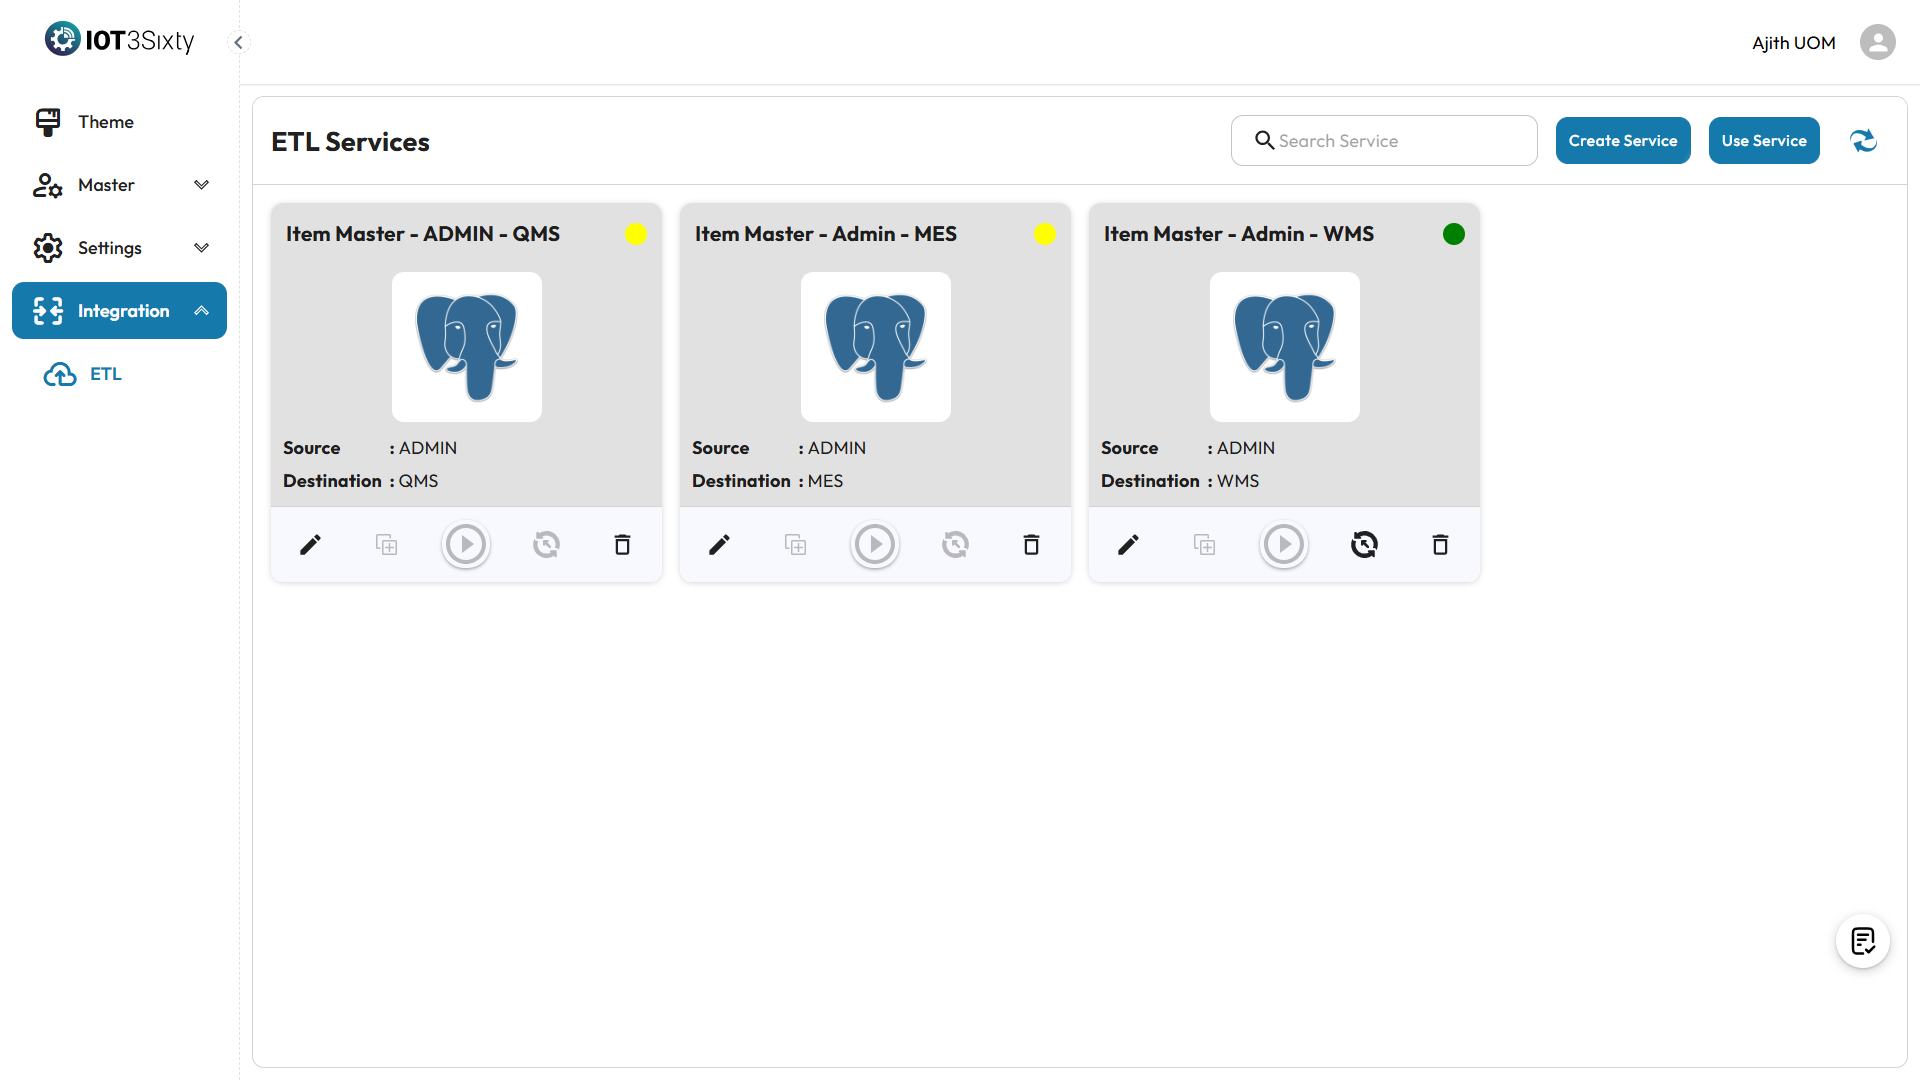
Accessing ETL Services
- Go to the Integration section in the navigation panel.
- Select ETL to view the list of services.
Based on your module selection, by default ETL services are provided (e.g., for master data or transactions). Each row includes:
- Service Name
- Status
- Action buttons: Edit, Delete, Start, Stop, Load Data
Configuring an ETL Service
Step 1: Edit the Service
-
Click the Edit icon next to a listed service.
-
This takes you to the Scheduler Configuration screen.
Step 2: Scheduler Config
Here, you define when the ETL job should run.
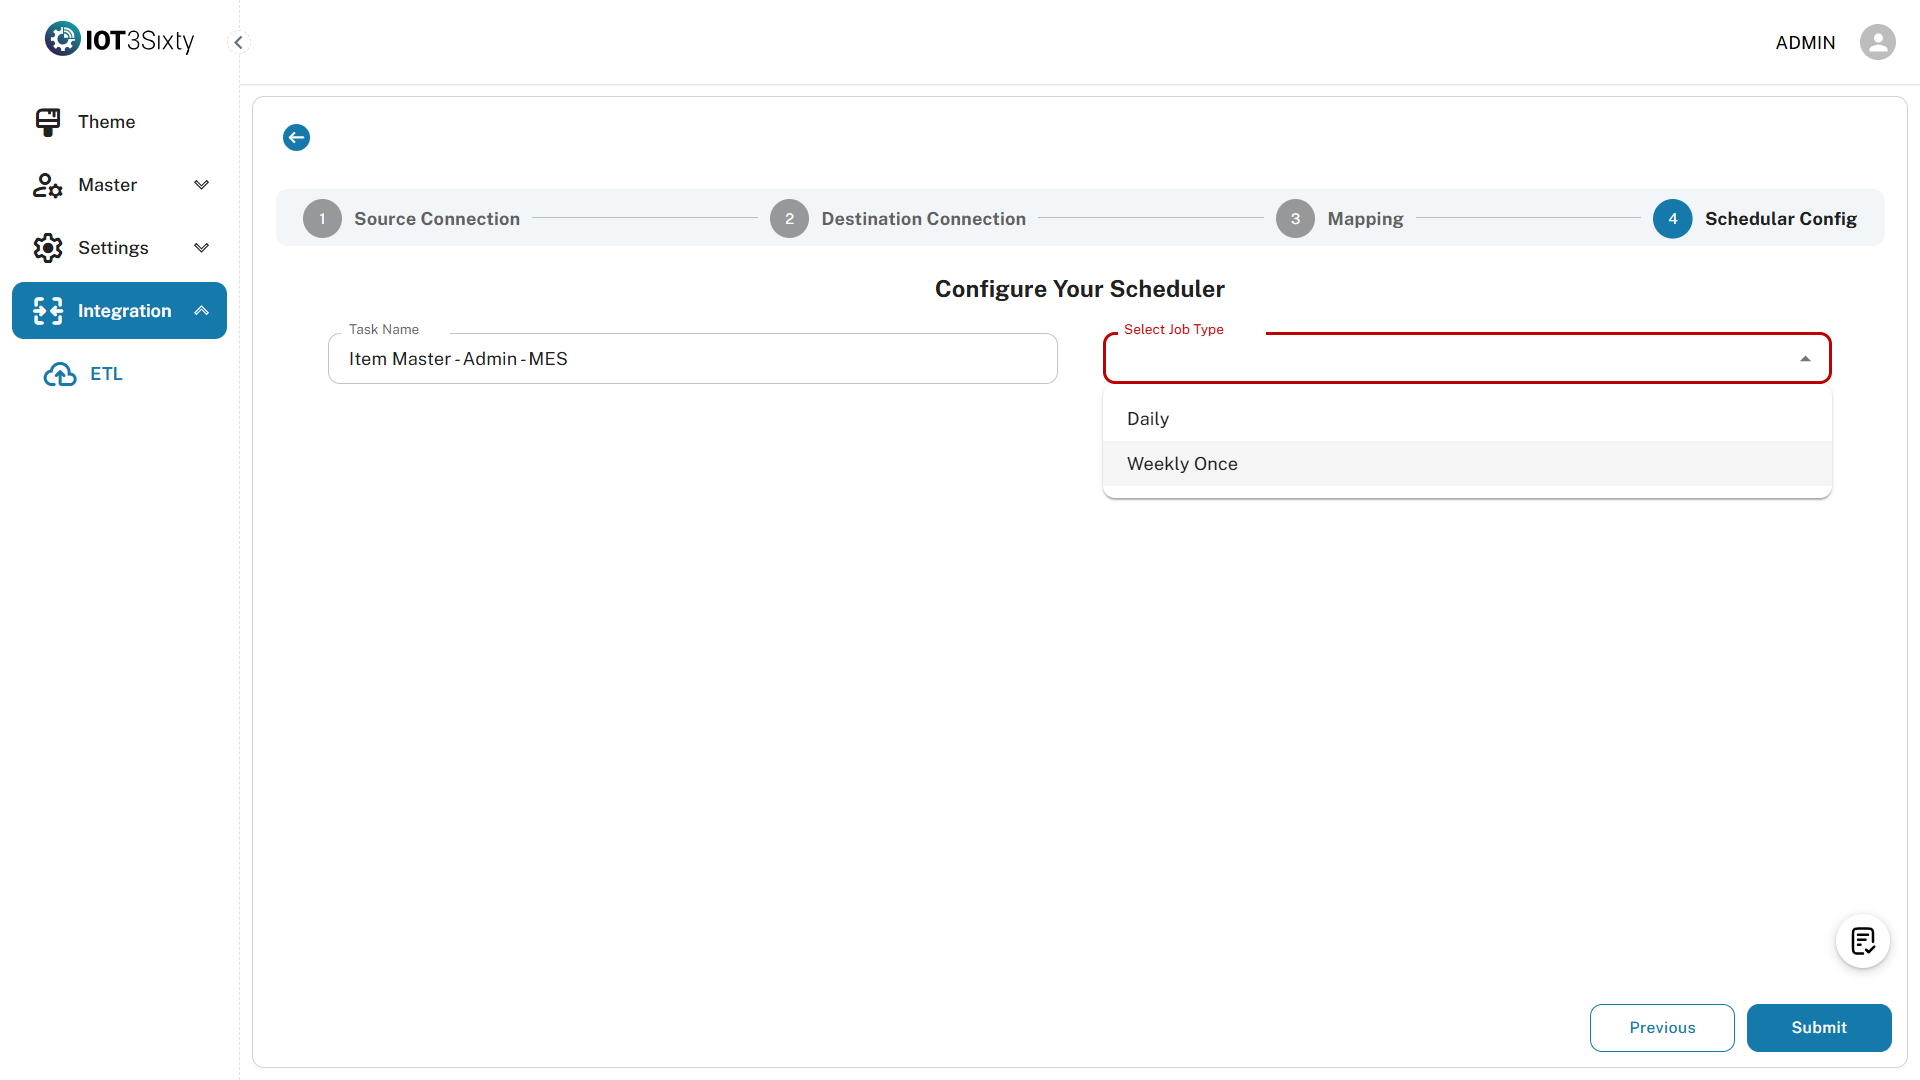
Note: The Task Name is predefined and cannot be edited.
Step 3: Choose Job Type
Select how often the service should execute:
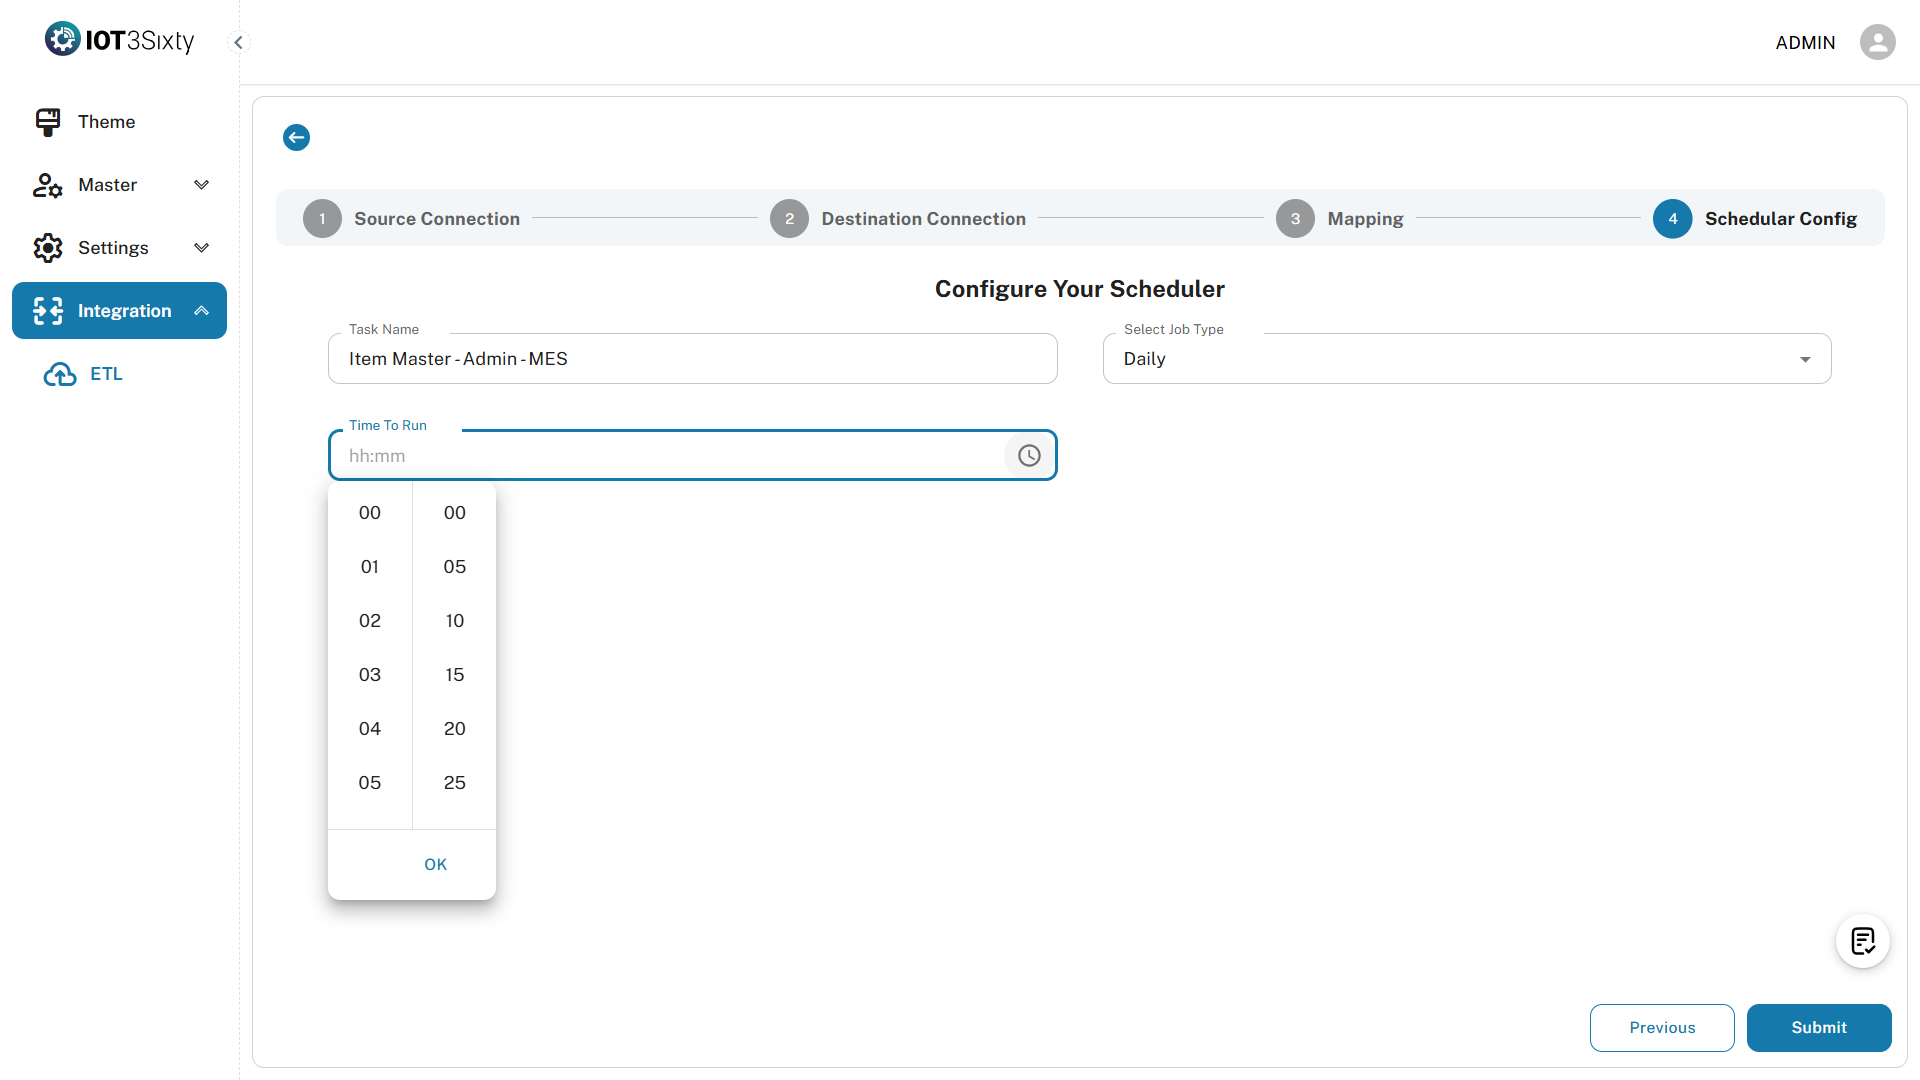
Step 4: Submit
- After filling out the job type and time, click Submit.
- A confirmation message will appear indicating that your schedule has been saved.
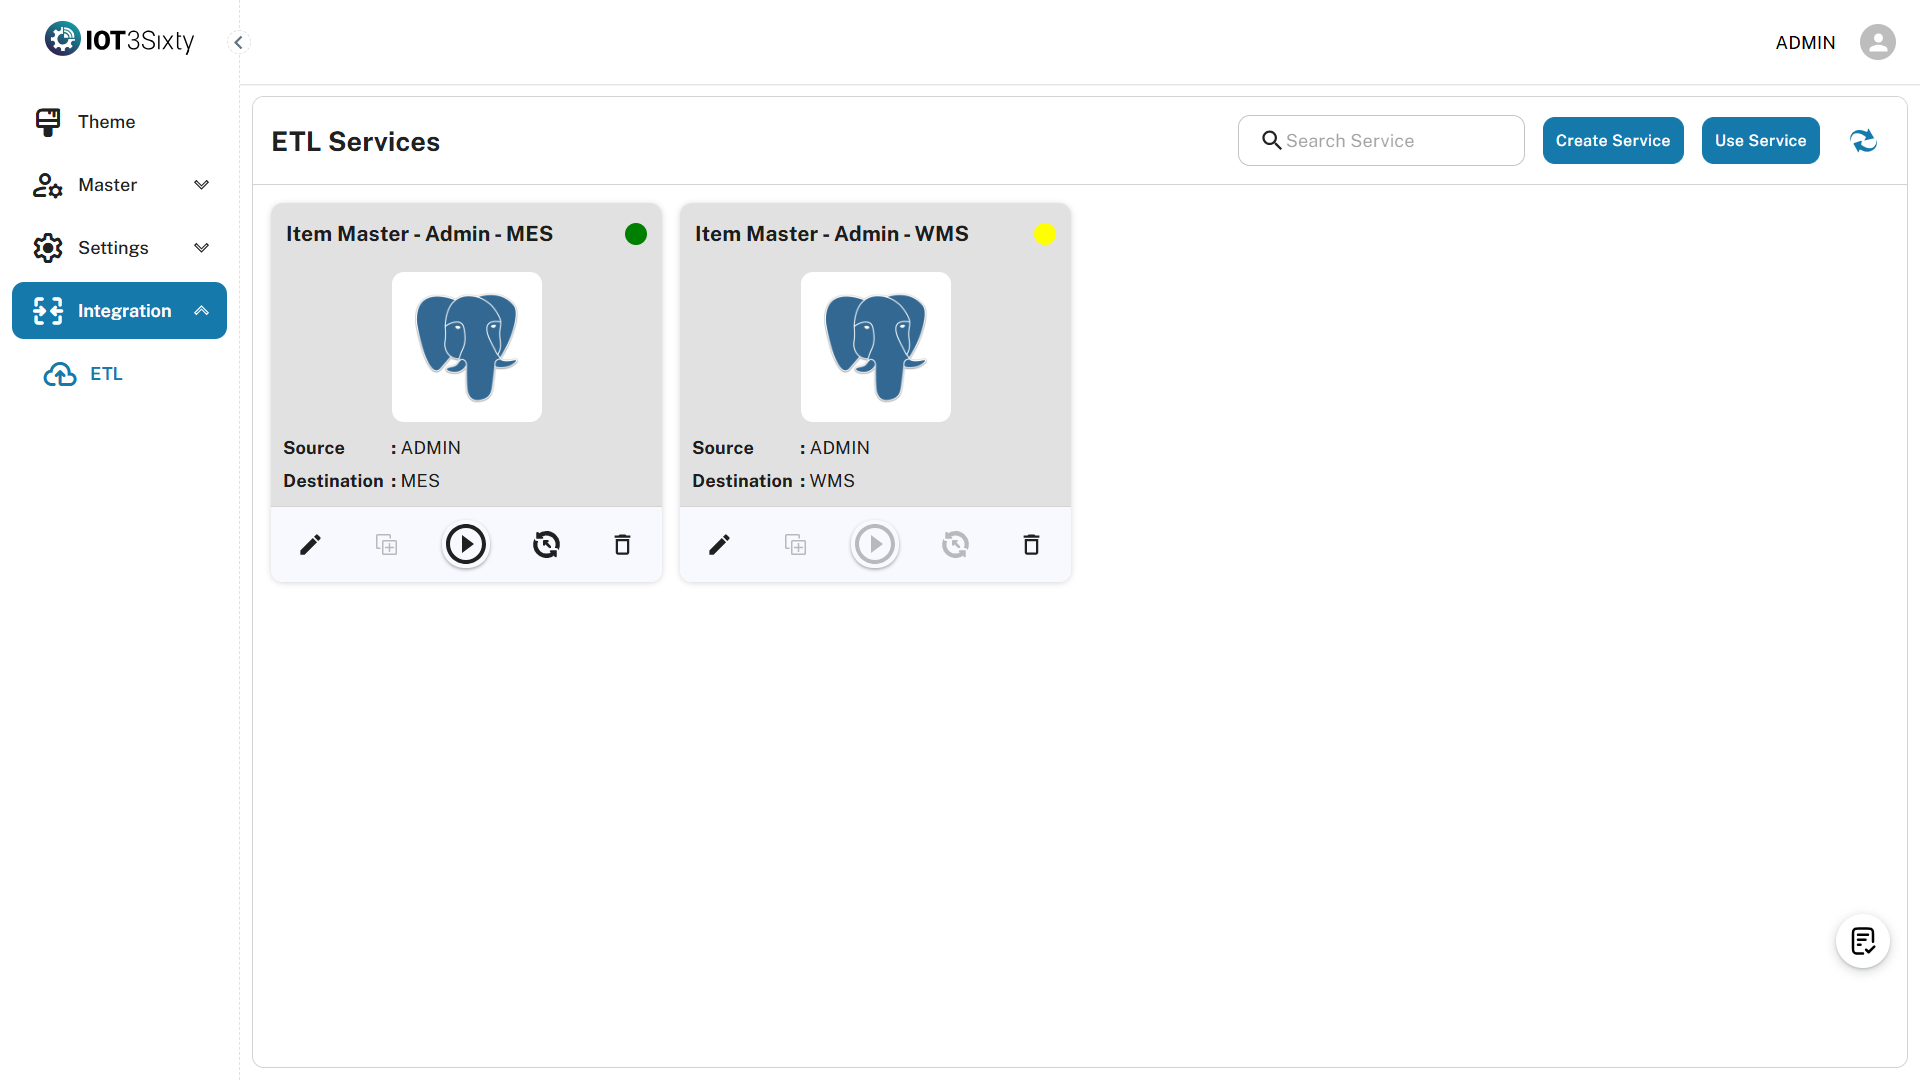
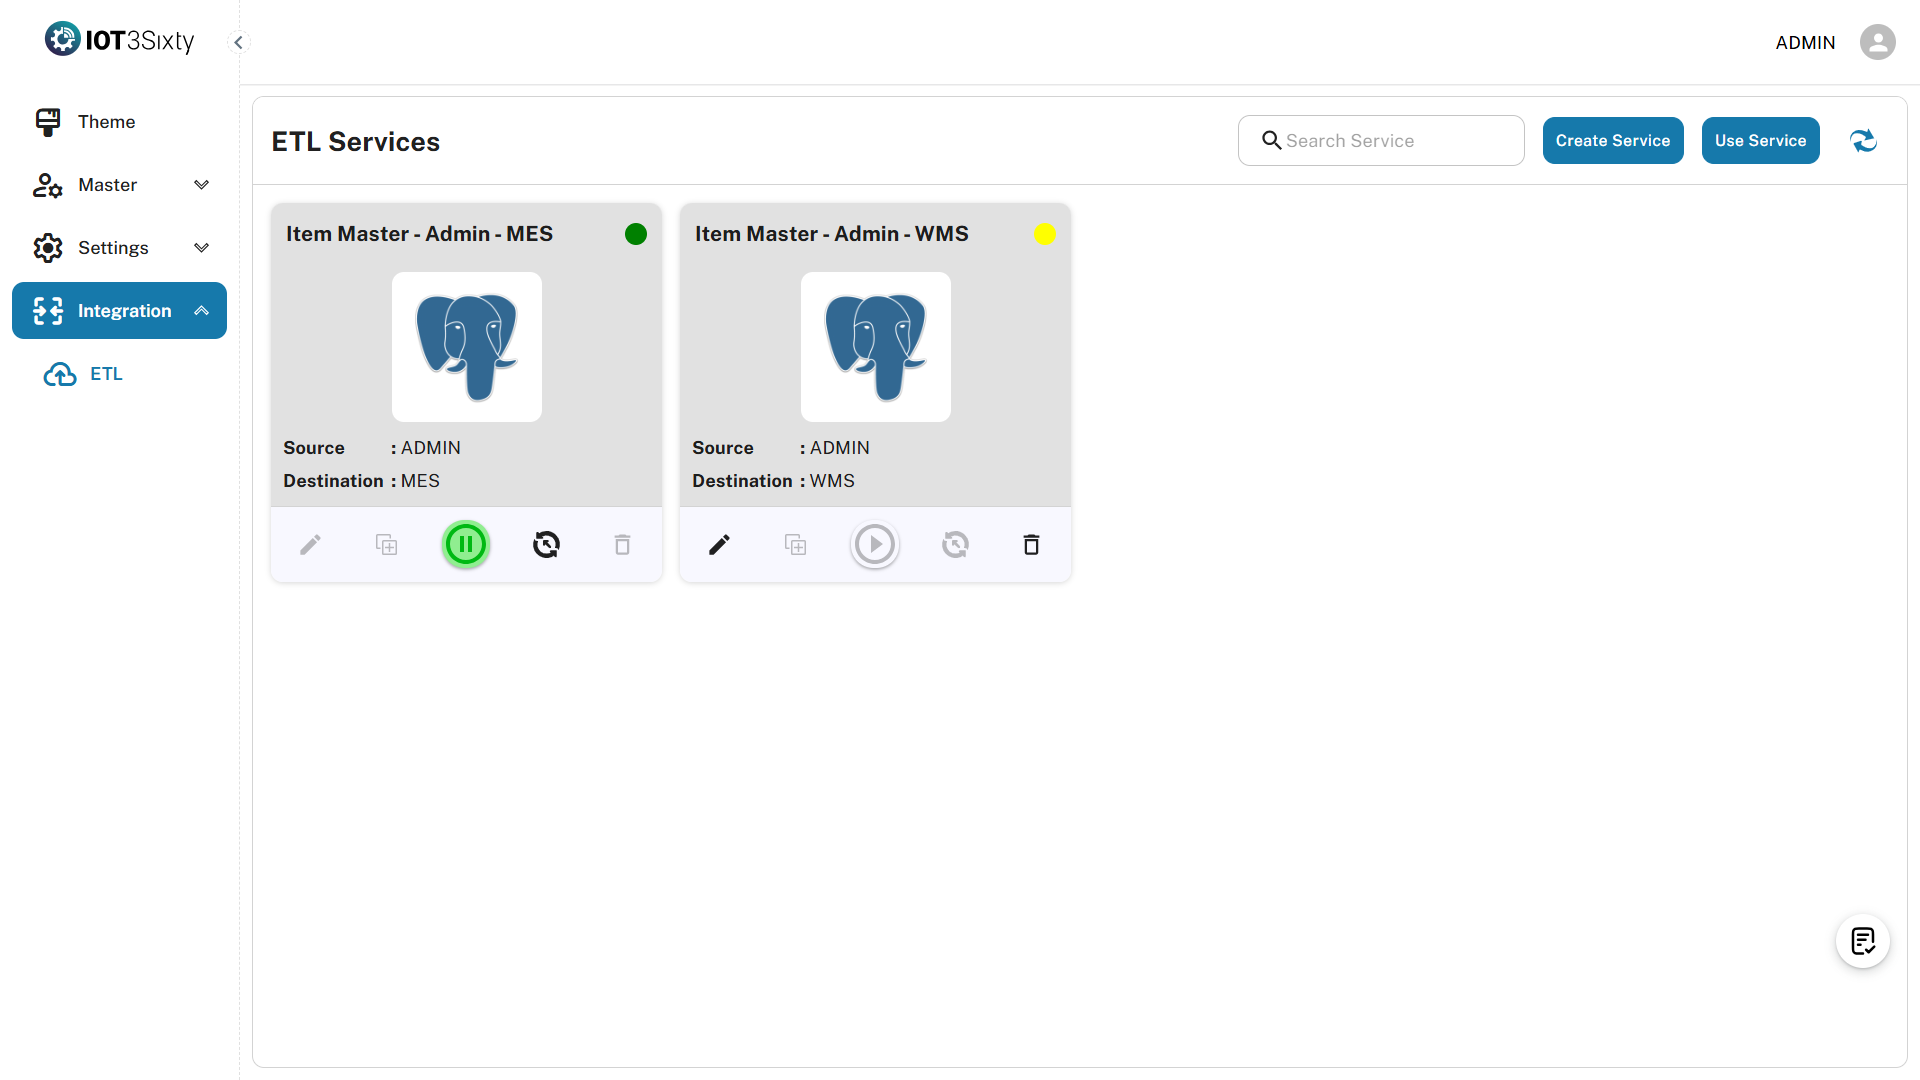
Visual Indicators
| Status | Visual | Meaning |
|---|---|---|
| Running | Green dot ● | Schedulers were submitted and ready to start service |
| Stopped | Yellow dot | Service is inactive |
Starting the ETL Service
Once your schedule is set, you need to start the service.
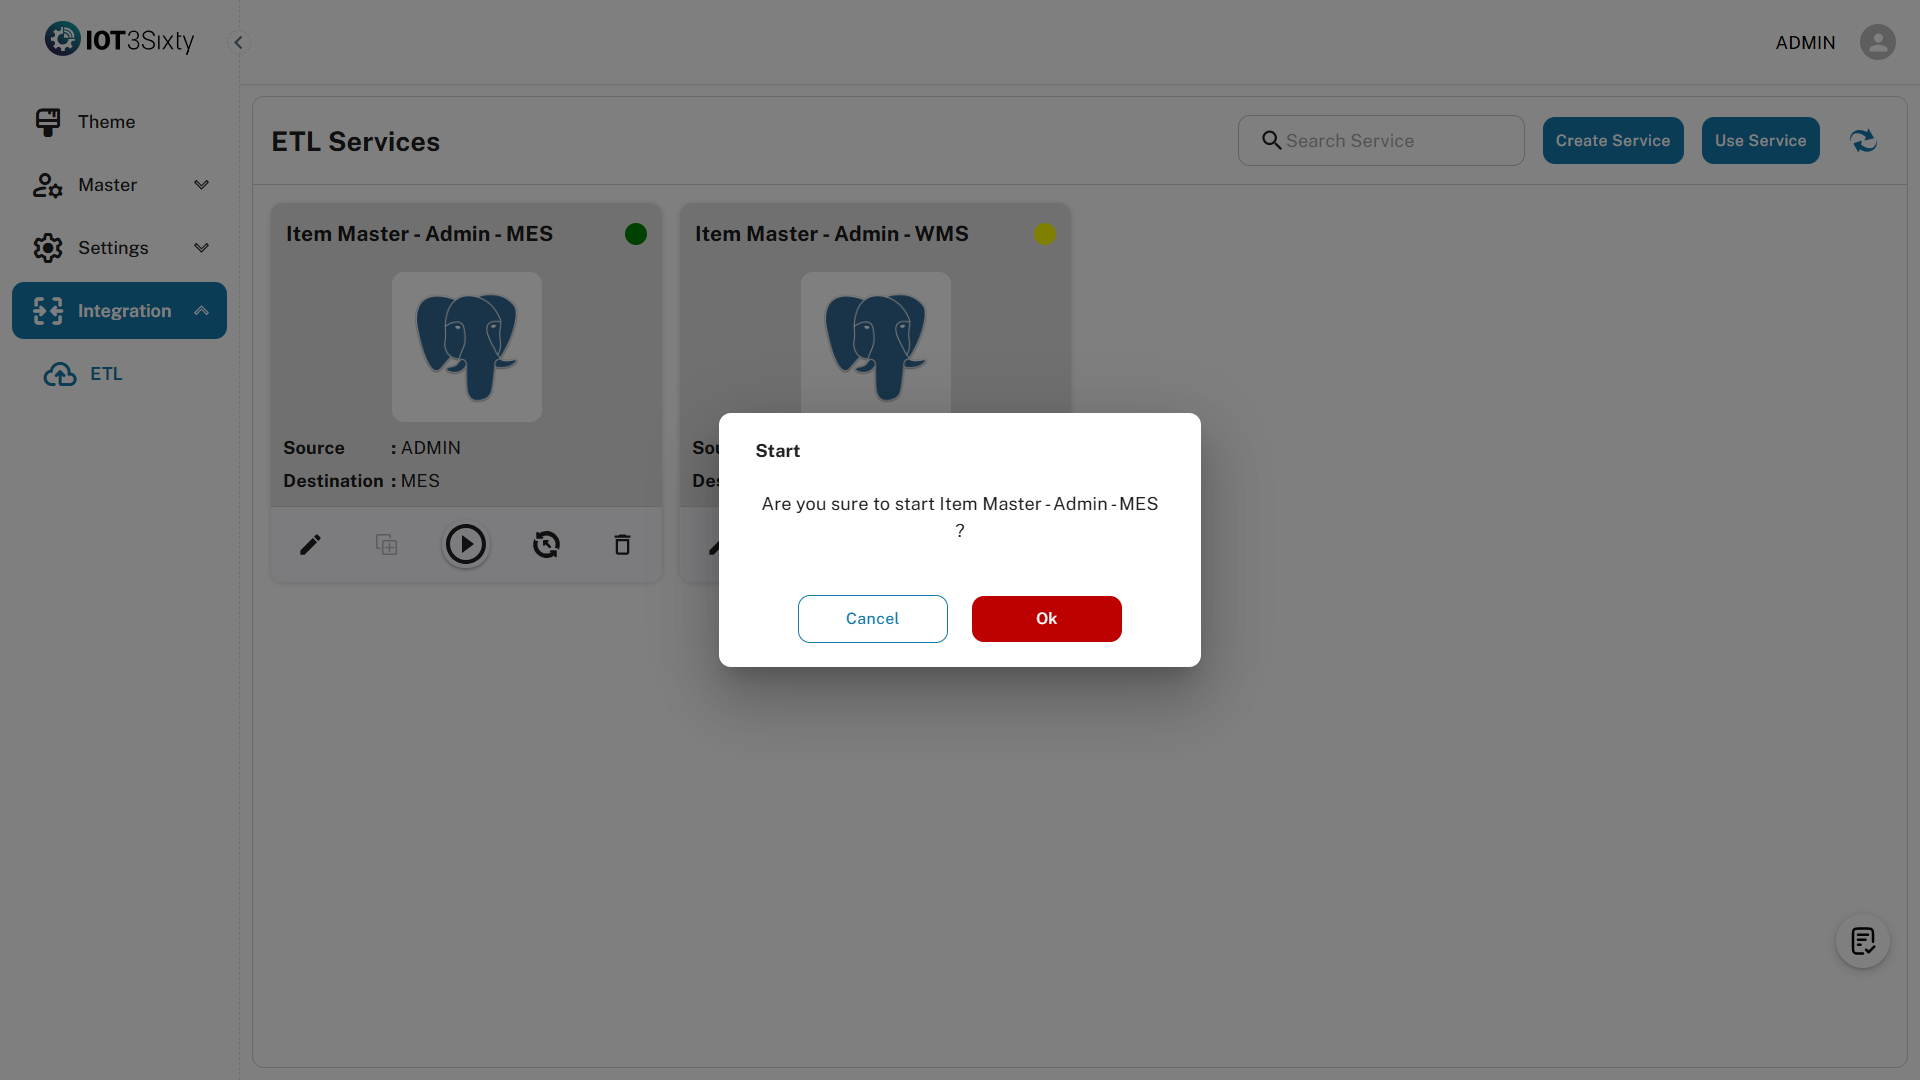
Step 5: Start Service
- Click the Start Service button.
- A confirmation dialog will appear — click OK.
After starting:
-
A success message will appear, showing the next scheduled run (date and time).
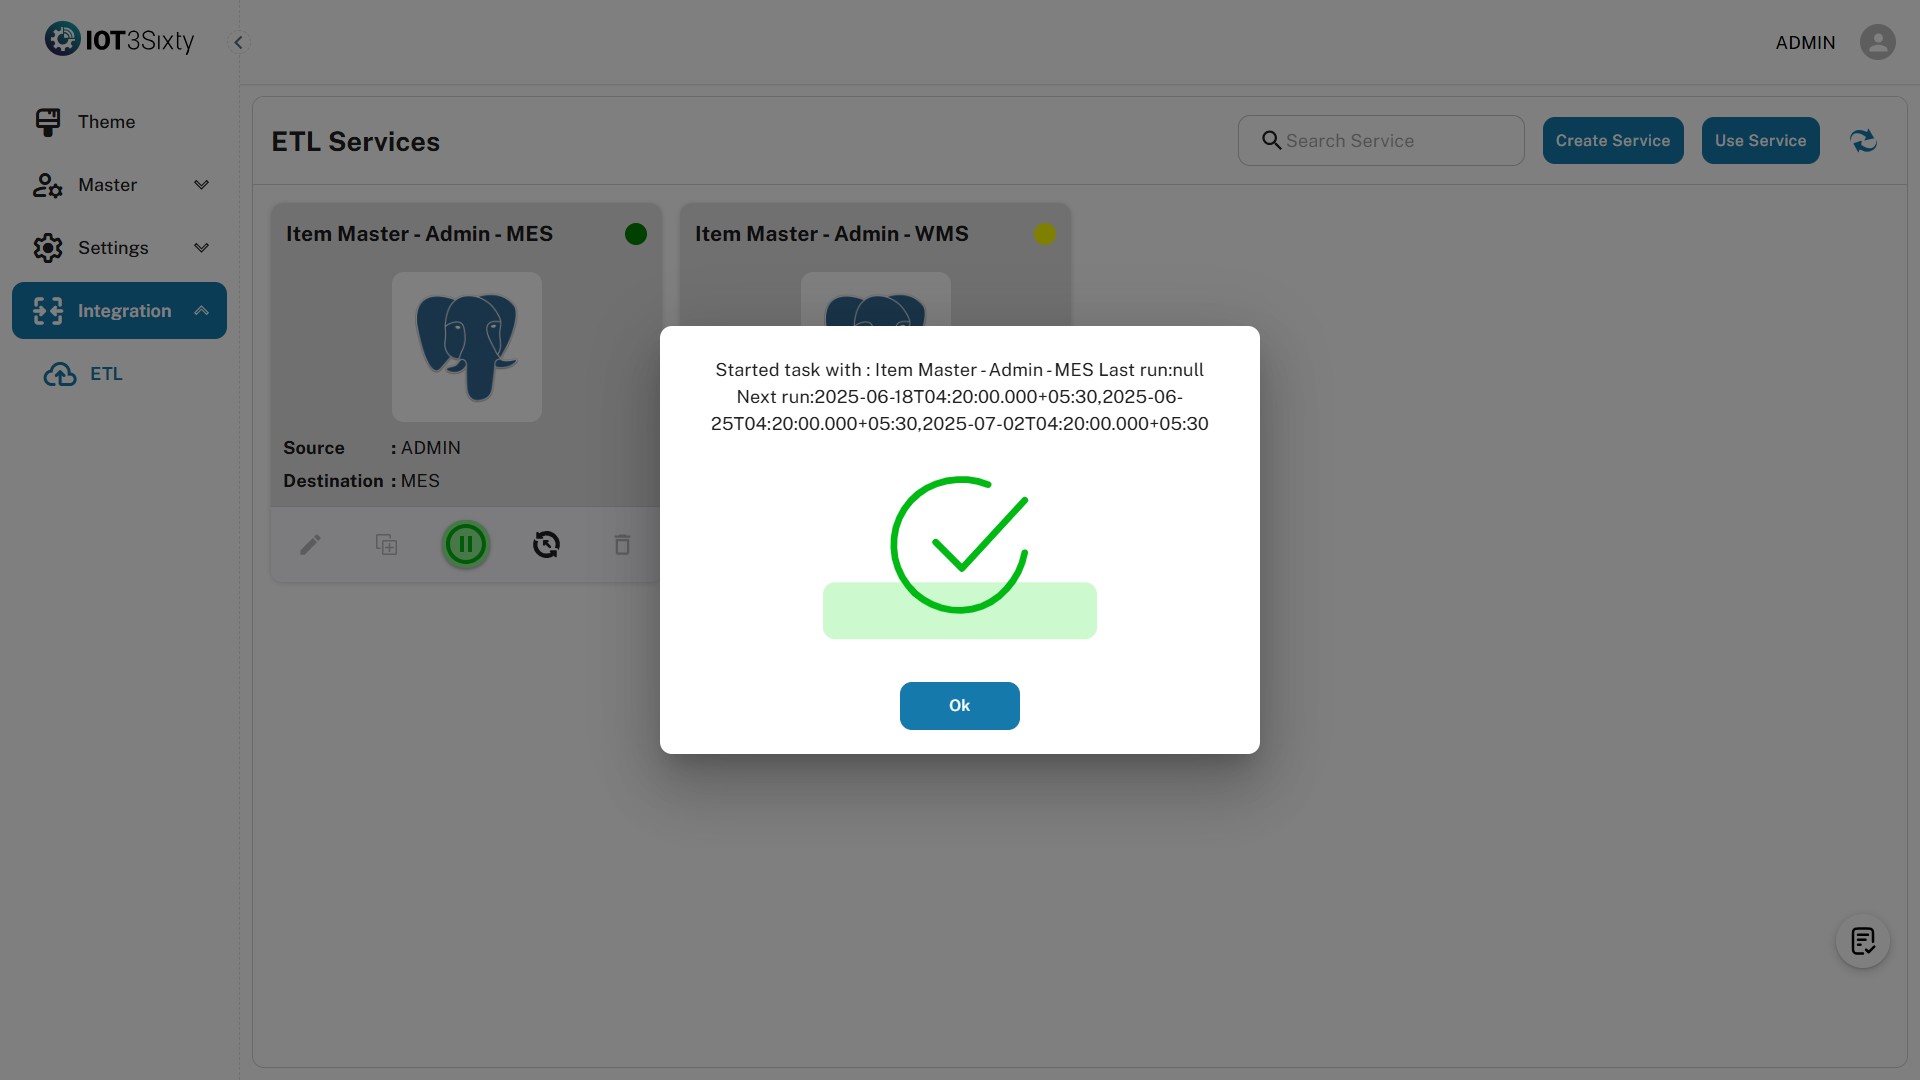
-
The Edit and Delete options will be disabled to prevent accidental changes.
-
A green dot will appear next to the service name indicating that the service is active and running.
Managing the Service
Stopping the Service
- Click the Stop button to halt the scheduler.
- This re-enables the Edit and Delete options, allowing you to make changes.
Running the Service Manually
- Use the Run Now button to trigger the ETL job immediately.
- This is useful for testing or applying urgent data updates.
Best Practices
- Use Daily schedules for frequently changing data like stock or pricing.
- Use Weekly for static data like departments or role configurations.
- Regularly monitor logs or success messages after runs.
- Avoid changing active jobs unless necessary — always Stop before editing.
Summary
The ETL service allows Admins to:
- Schedule regular data sync jobs
- Choose between daily or weekly execution
- Start, stop, or load services manually
- Monitor status via visual indicators like the green dot
Proper setup of ETL ensures smooth, hands-free data operations that improve efficiency and reduce manual tasks.